


Automate library publishing to Maven Central with GitHub Actions Workflow Dispatch 🤖
Let GitHub Actions work for you with just a click and you just chill 😎


Hey developers👋, after the sunset of Bintray almost many developers migrated their JVM library publishing workflow and moved to maven central. I personally moved my open-source JVM libraries to maven central. It's really different and complex thing for a developer initially who is using the Sonatype, Nexus repository manager after coming from Bintray. There are some extra steps and a set of scripts to publish the library on maven central as compared to Bintray. That's why I thought of automating this workflow so that we can release a library with just a click, that's it, let's see it! 😀
Automation... with what 🤖?
Since most of the developers publish libraries on GitHub, we are gonna use GitHub Actions CI to automate library publishing and release. But let's see how...
GitHub Action CI can be triggered on certain events like pushing commits, pushing tags, etc. But we don't want to add such an event, right? Because every time we push on release, master, or any other branch, it doesn't mean we want to release the library. Also, triggering CI on pushing tag works in this case, but it still needs pushing a tag manually😅. We can automate it too...
Using GitHub Actions Workflow dispatch
To manually trigger a workflow, GitHub Action provides workflow_dispatch event. You can manually trigger a workflow run using the GitHub API, GitHub CLI, or GitHub browser interface. For more information, see "Manually running a workflow."
While triggering workflow_dispatch event, we can provide external input parameters as well which can be then retrieved in Action. This is just like "Build with parameters" of Jenkins CI.
What will this workflow do for us? 🤔
- It'll take Version name as an input parameter for running the workflow.
- Build library project (check if any compilation error/test fails).
- Publish library to Maven central with specified Version name.
- Create a tag with Version name.
- Create a draft release with a recently created tag.
It sounds awesome 😍, right? Just provide version name and trigger workflow and GitHub Actions does everything rest for you! 😃
🧑💻 Let's start
Let's start and see how we can achieve this.
Setup library project
Here I'm assuming that you already know how to create a library and have the library setup done with publishing configuration. Because our main goal is to demonstrate usage of CI to publish library. I won't be showing here how to set up a library and how to set up the configuration for the publishing library in the project.
You can refer to this repository where the project is set up with CI workflow already.
You can refer to the resources for setting up the maven central publishing configuration:
- Marton Braun's guide to "Publishing Android libraries to Maven Central in 2021"
- Waseef Akhtar's guide to "Publishing your first Android library to Maven central"
- Niklas Baudy's Gradle-maven Publish Plugin
Okay, so till this point I assume you already have set up a Sonatype account, library project with publishing configuration with GPG key and related credentials. If you still not getting these terms, I would highly encourage you to revisit the above resources.
I'm using Niklas Baudy's plugin in my example library and have configured gradle.properties as below
GROUP=dev.shreyaspatil.autodemolib
POM_ARTIFACT_ID=autodemolib
VERSION_NAME=0.0.2
VERSION_CODE=1

POM_NAME=Automation Demo Library
POM_DESCRIPTION=Sample library
POM_INCEPTION_YEAR=2022
POM_URL=https://github.com/patilshreyas/library-ci

POM_LICENSE_NAME=The Apache Software License, Version 2.0
POM_LICENSE_URL=https://www.apache.org/licenses/LICENSE-2.0.txt
POM_LICENSE_DIST=repo

POM_SCM_URL=https://github.com/patilshreyas/library-ci
POM_SCM_CONNECTION=scm:git:git://github.com/patilshreyas/library-ci.git
POM_SCM_DEV_CONNECTION=scm:git:ssh://git@github.com/patilshreyas/library-ci.git

POM_DEVELOPER_ID=PatilShreyas
POM_DEVELOPER_NAME=Shreyas Patil
POM_DEVELOPER_URL=https://github.com/PatilShreyas/
Make sure you're setting this VERSION_NAME as the library's version in build.gradle of the library module
android {
    ...
    defaultConfig {
       ...
+      versionName VERSION_NAME
    }
}
Okay, that's required from the project side.
Setting GitHub Actions' Secrets 🔐
As you might be aware while publishing a library, you need a GPG key and password (for signing), maven central credentials (for publishing). In CI, you'll need to keep it secret.
Extracting GPG key for signing
In the CI environment, you'll need to use an in-memory signing GPG key which can be extracted from the GPG key you might have created on your local machine. Follow this:
- List all GPG keys on your machine
gpg --list-secret-keys
- You'll see a list of keys. You'll have to keep the reference of the Key ID which you want to use to sign the library. By this, we can export secret key out of it
sec   rsa4096 2021-02-12 [SC]
      C97D0FB19EBFEF
uid           [ultimate] Shreyas Patil <shreyaspatilg@gmail.com>
ssb   rsa3072 2021-02-12 [E]
Here, C97D0FB19EBFEF is the Key ID
- Export the private key in the ASCII armored format
gpg --export-secret-keys --armor <KEY_ID>
Replace the Key ID which you got in the previous step
While running this command, you'll be prompted to enter the password. This will the same which you used while creating the key earlier on your machine.
You'll see the secret key once this command runs successfully
-----BEGIN PGP PRIVATE KEY BLOCK-----
<SECRET_KEY_CONTENT_HERE>
-----END PGP PRIVATE KEY BLOCK-----
Keep the reference of secret key content and make sure it's a single line value so that we can use it in the GitHub Actions secrets.
Add secrets 🤫
To add secret key and credentials, navigate to repository "Settings", then "Secrets". As you can see here 👇
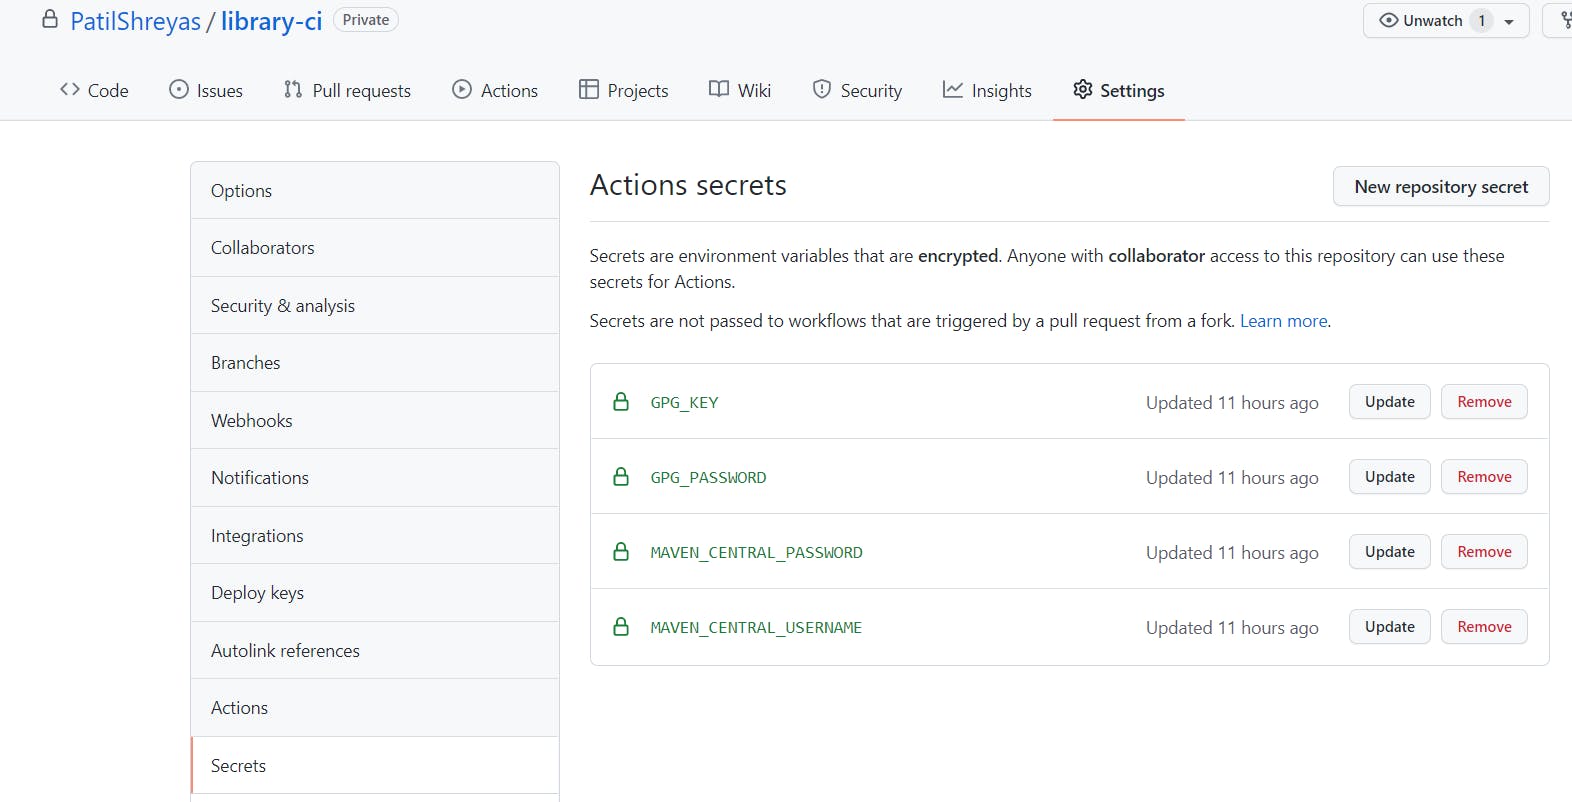
Add the below secrets:
GPG_KEY: The GPG secret key for signing was generated previously.GPG_PASSWORD: The password of the PGP KeyMAVEN_CENTRAL_USERNAME: Username of Sonatype's repositoryMAVEN_CENTRAL_PASSWORD: Password of Sonatype's repository
That's all, now let's define the workflow
Create workflow ⚙️
Create an Action workflow in .github/workflows/ directory by the name publish.yml
- Define the trigger-point
As we want to use workflow_dispatch set it up like below. Make sure to define an input parameter versionName
- Setup JDK, Gradle & run build first
This will set up the repository, Java JDK, Gradle in the workflow and will execute ./gradlew build first
- Trigger publishing and releasing
As you can see in the Gradle plugin's docs, Gradle task publish and then closeAndReleaseRepository should be executed in order to release a library.
As you can see, we've exposed credentials and secret keys as an environment variable. This Gradle plugin will automatically read it and will consider it while signing and publishing a library.
Note: We are overriding the version name of
gradle.propertiesby exposing the environment variableORG_GRADLE_PROJECT_VERSION_NAMEso that this library will be get published with the version name which was provided while dispatching the workflow.
- Create a tag and release on GitHub
This will create a tag with specified versionName and will push it. Later, it'll create a draft release with the reference of the tag pushed previously.
That's it. Refer to this file to see the complete workflow.
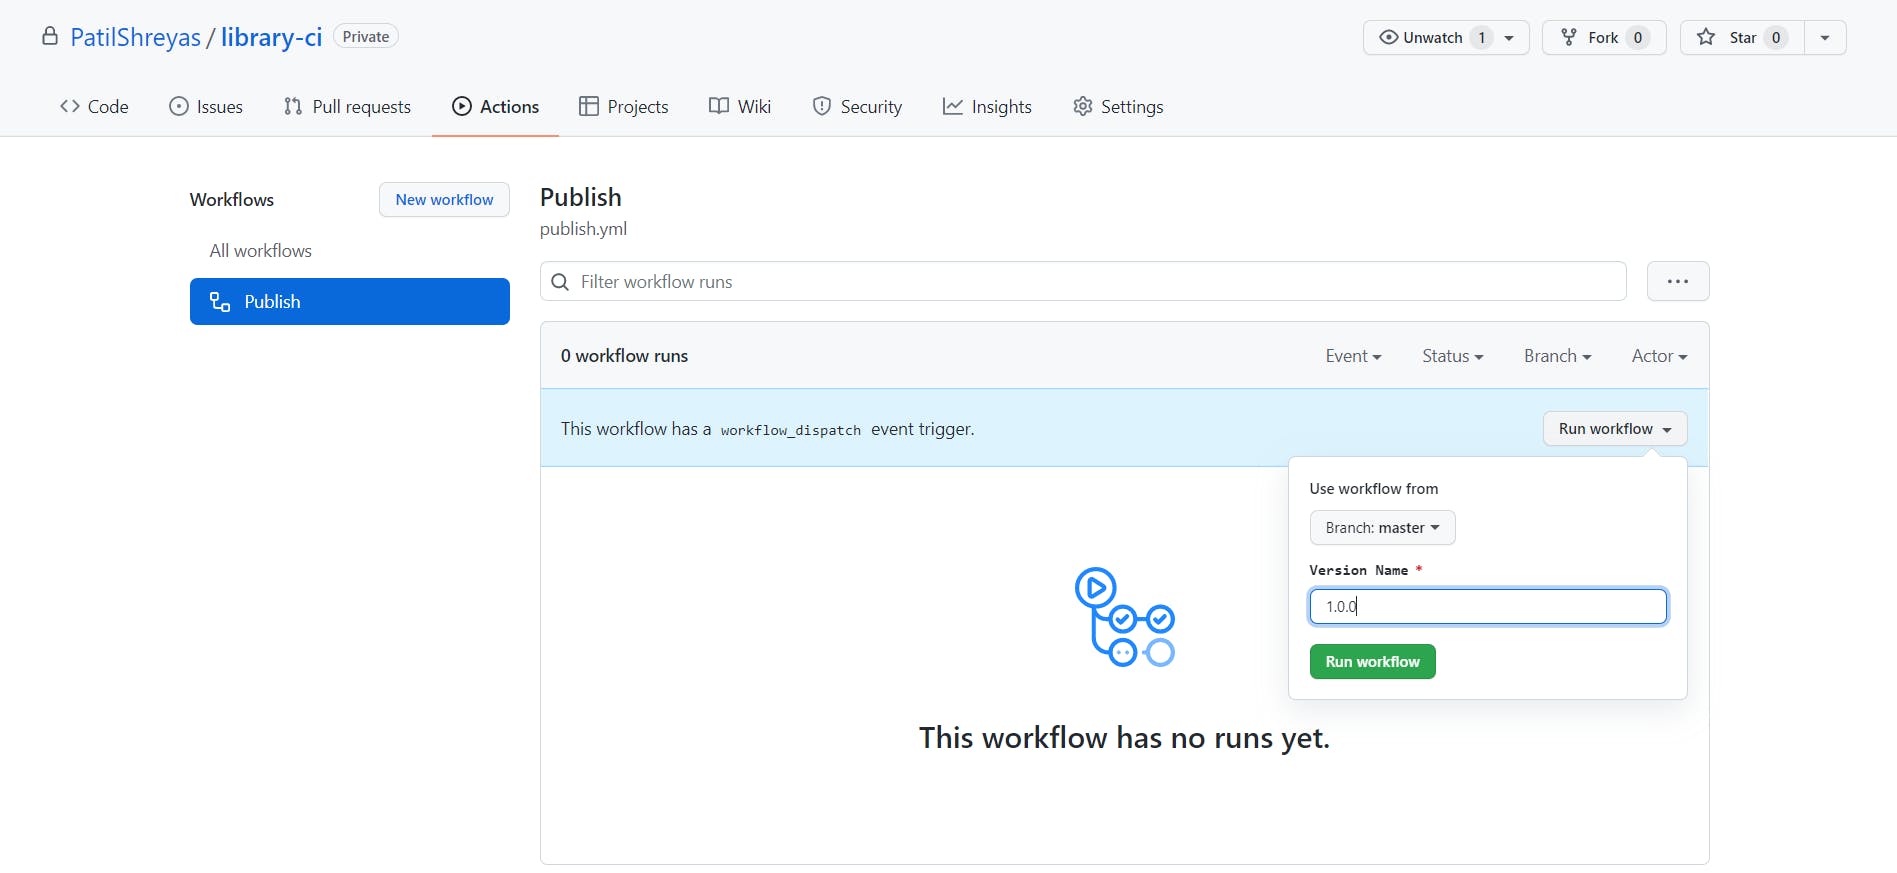
Let's run 🏃♂️
Cool, we are done with the workflow setup and it's time to execute it!
Just go to actions, click on the workflow name (i.e. "Publish" in this case), specify the version name (with which you want to publish this library). As you can see here, I have provided the version as "1.0.0". Then finally, click "Run workflow"
After the Action is executed successfully, it'll look like this
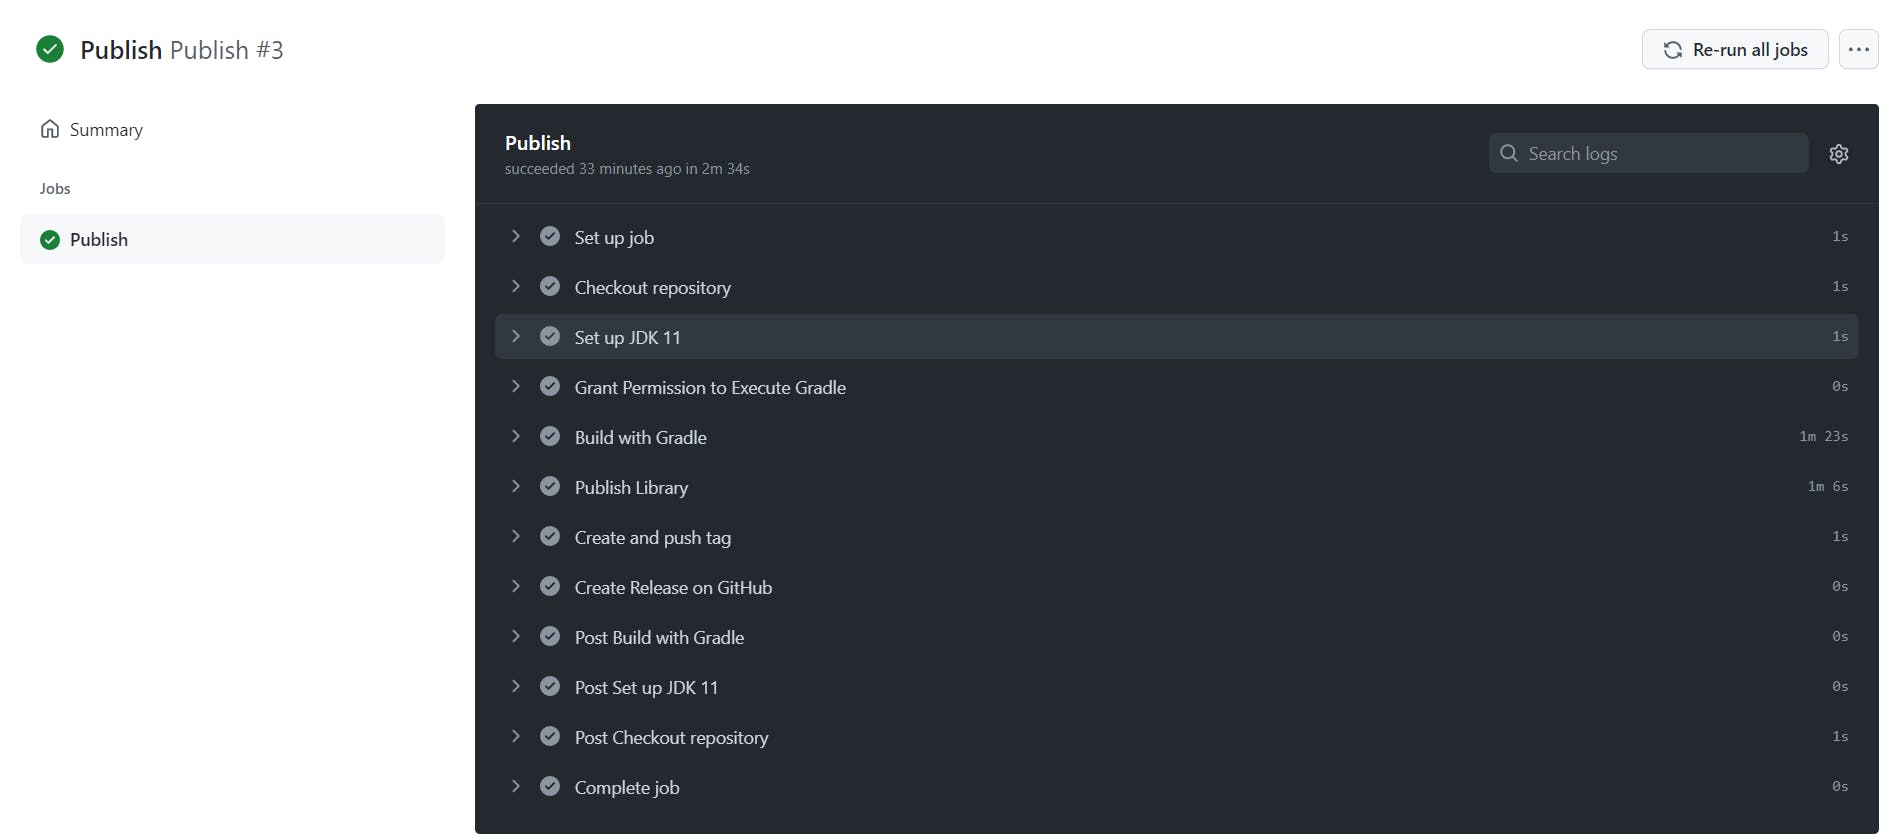
By the time, your library has been published to maven central successfully. You can go to search.maven.org and see if your library appears there. Or login to oss.sonatype.org to check the status of your library release.
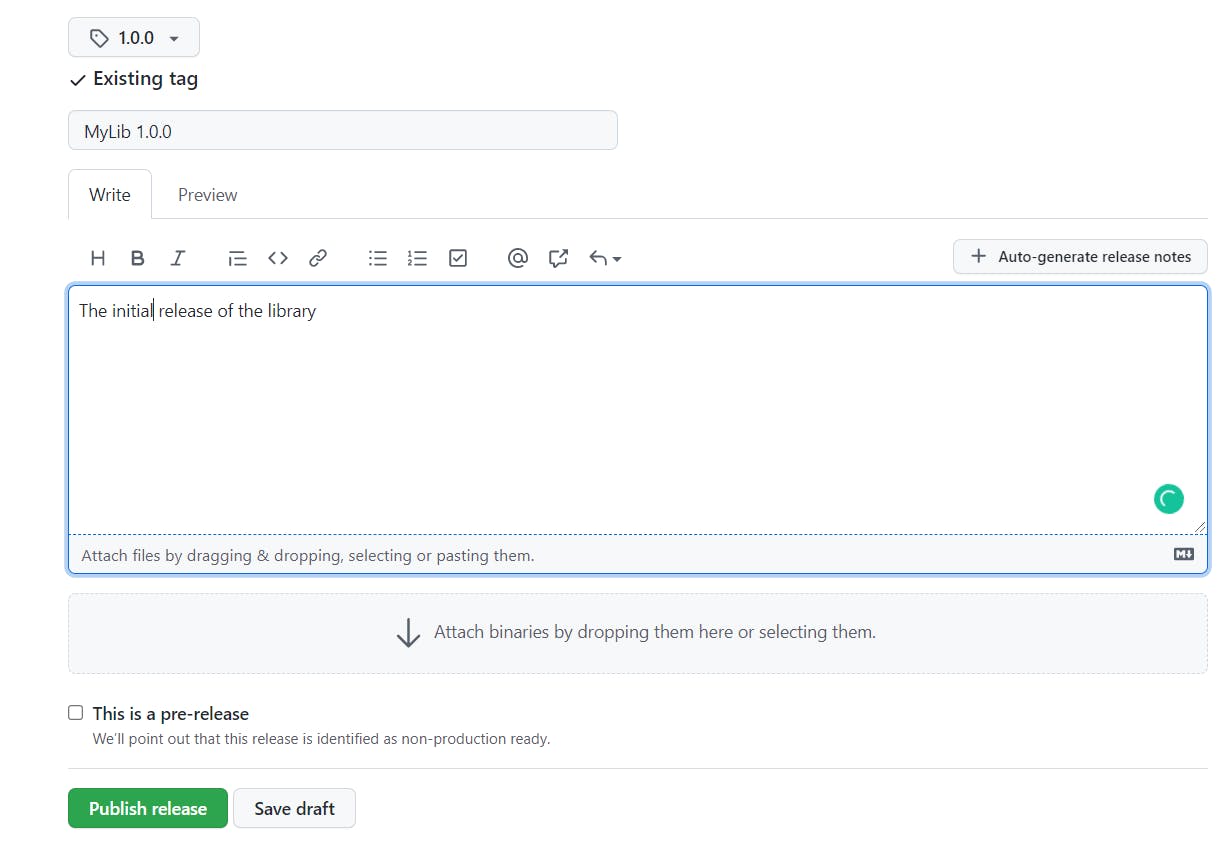
Now, to see magic, just navigate to the "Releases" section of the repository. There you'll see a draft release created by GitHub Action with the version name mentioned by you earlier.
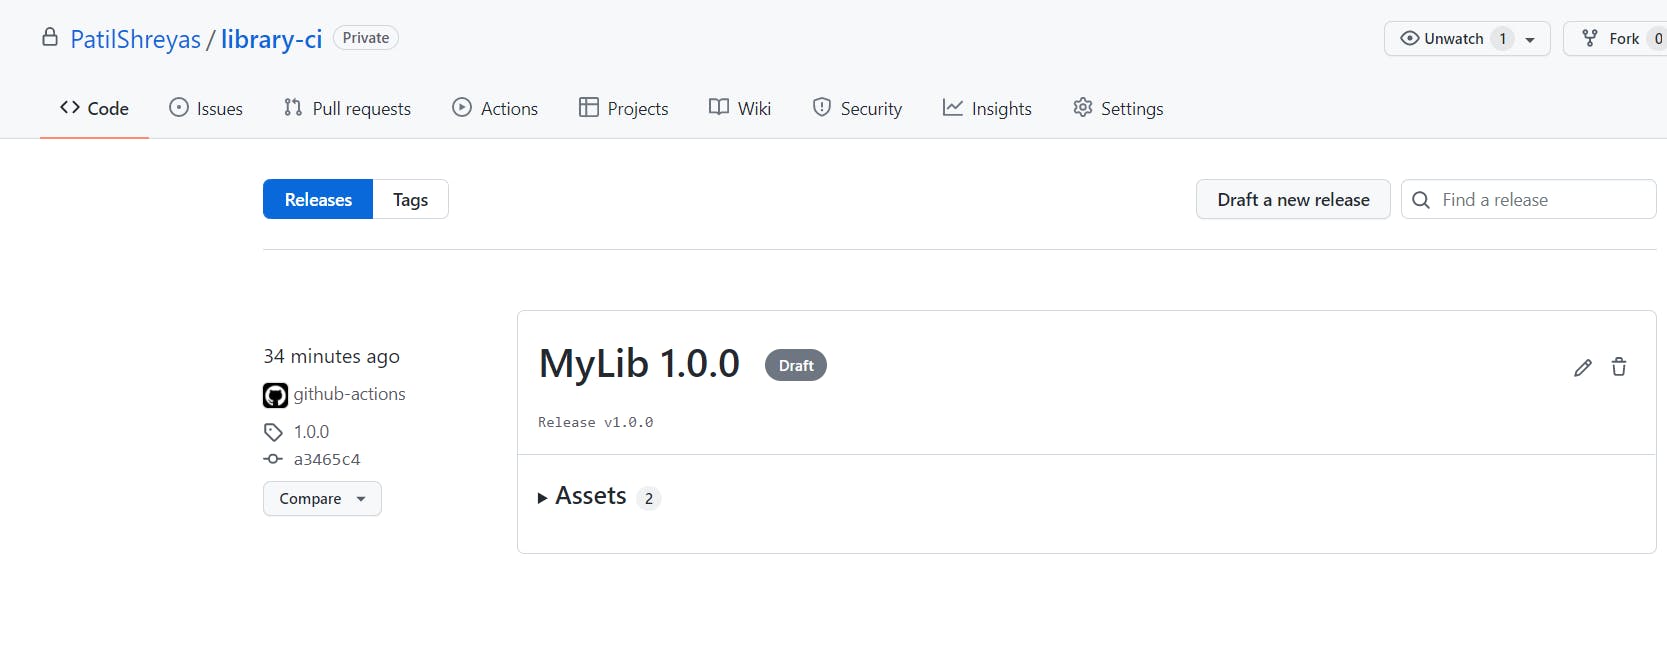
Now just edit it, fill out the release changelog and just publish the release 🚀.
Yeah😍! As you saw, this everything happened with just a click. This is just a one time process and now every time again when you have to release an update, just push the code and dispatch the workflow, GitHub Action will work for you, and you just chill 😎.
I hope this was helpful. Share it if you found it helpful.
Sharing is caring
Thank you! 😀