Hi Firebasers, in this article, we’ll explore a way to automate workflows for distributing your Android application with Firebase App Distribution using GitHub Actions CI and Fastlane.
Once you’ve set this up, you’ll just need to write code, push to GitHub and your app will be automatically distributed to your trusted testers or QA team.
Before starting the implementation details, let’s understand a few things.
What is Firebase App Distribution? 🤷♂️
Firebase App Distribution lets you distribute pre-release versions of your app to your trusted testers painless. It gives us a holistic view of your beta testing program across iOS and Android, providing us with valuable feedback before a new release is in production. You can send pre-release versions of your app using the console or your CI servers, and installing your app is easy for testers.
If you use Crashlytics in your apps, you’ll automatically get stability metrics for all your builds, so you know when you’re ready to ship. It’s a time saver for the whole application development lifecycle process.
What is Fastlane? 🏃
Fastlane is a toolkit that does a lot of things, like generating screenshots, dealing with code signing, and releasing your application and much more. It’s the easiest way to automate beta deployments and releases for your iOS and Android apps. 🚀
It has a plugin system that makes it easy to extend its functionality. There are plugins for all sorts of workflows, such as for publishing app on to the Google Play Store — and even one for Firebase App Distribution! This tool is easy to use locally as well as CI workflows 😃.
With this short introduction to the tools, we’re going to use under our belt. let’s dive into the implementation.
Setup Fastlane in app 🏃
You can refer to this repository as a reference. Everything in this article is already implemented there.
Setting up Fastlane is quite easy. Ruby should be preinstalled on your system. (Alternatively, you can follow the process as described here).
- Create a
Gemfilein the root directory of your Android project as below:
source "https://rubygems.org"
gem "fastlane"- Then just run the following command:
sudo gem install fastlane -NV - Setup Fastlane using this command:
fastlane initand follow the prompts to fill in the details about your app.
Now you can see the newly created fastlane directory in your project with the following files:
Appfile— defines configuration information that is global to your app.Fastfile— defines the “lanes” that drive the behaviour of Fastlane.
Add the Firebase plugin 🔥
You can refer to the steps described here for adding plugin using a variety of available authentication options. Run the following command to add the Firebase App Distribution plugin using Fastlane:
fastlane add_plugin firebase_app_distributionYour working directory will be updated with some files.
Setting up Firebase Service Credentials 🔒
Firebase Service Credentials is required for Fastlane for authentication purposes. Take a look at this section for more information.
- Go to the Google Cloud Platform console → Select your project → Create a new service account.
- Add the “Firebase App Distribution Admin” role, like so:
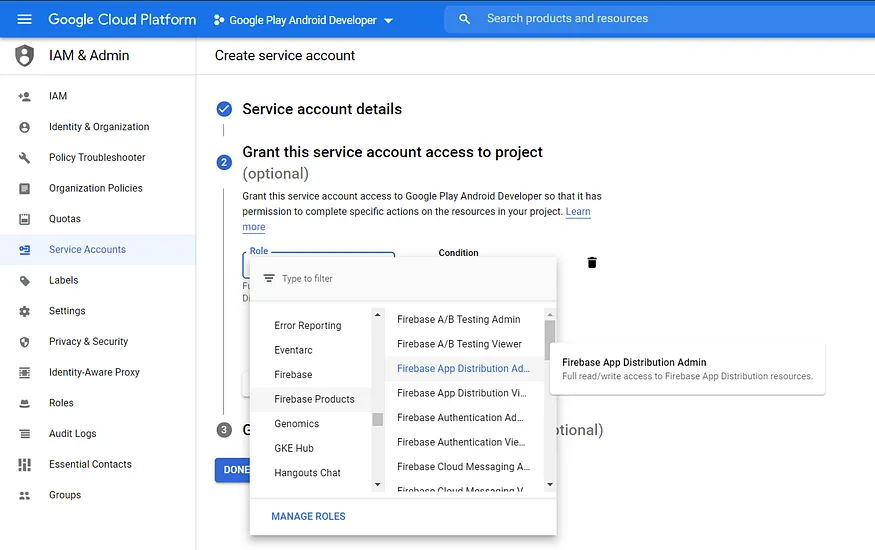
- Create a private JSON key and move the key to a location accessible to your build environment. Be sure to keep this file somewhere safe, as it grants administrator access to App Distribution in your Firebase project.
- Keep this file in the root directory of your project. (In this example, I’m keeping the name of this file as
firebase_credentials.json).
Getting the Firebase App ID 🆔
Now your Firebase project’s App ID is required.
- Go to Firebase Console → Open Your app project → Open Project Settings ⚙️ → Find your app there → Copy App ID from there.
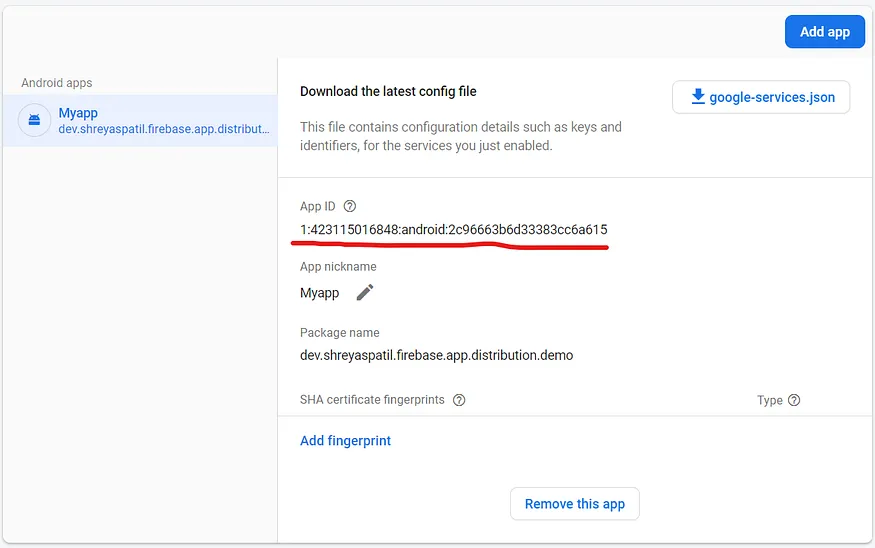
- Now expose the App ID as an environment variable:
export FIREBASE_APP_ID=YOUR_APP_IDOkay 👍. Now let’s configure Firebase App Distribution for Fastlane.
Configure Firebase App Distribution 🛠️
Firebase App Distribution supports testers or groups for distribution as well as release notes for distribution of the app. You can see this for more available options for configuration.
In this project, we will set up groups and release notes configuration for Firebase App Distribution.
- Create a new directory
FirebaseAppDistributionConfigunder the root directory of your project. - Create a new file
groups.txtin the created directory.
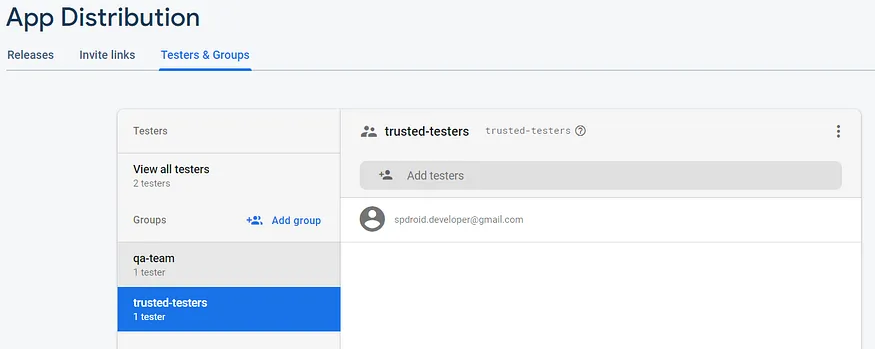
In this file, we will mention groups whom we want to distribute our application for testing. So file would look like as below:
qa-team, trusted-testersThis means your application will be distributed to the qa-team and trusted-testers groups (these groups are created or managed in the App Distribution dashboard within the Firebase console).
- Create a new file
release_notes.txtin the same directory.
In this file, we will add release notes for the current version of the application. These release notes will be visible for testers of application. This file will be a simple plain text file as below:
In this version, we improved the user experience and fixed some bugs.Hang tight — we’re almost done. Let’s now set up the lane for app distribution.
Let’s create a lane 🛣️
You can declare various lanes in Fastfile which can have different behaviours or simply we can call them tasks. Now just open that file and define a lane called distribute.
default_platform(:android)

platform :android do

  desc "Lane for distributing app using Firebase App Distributions"
  lane :distribute do
    gradle(task: "clean assembleRelease")
    firebase_app_distribution(
        service_credentials_file: "firebase_credentials.json",
        app: ENV['FIREBASE_APP_ID'],
        release_notes_file: "FirebaseAppDistributionConfig/release_notes.txt",
        groups_file: "FirebaseAppDistributionConfig/groups.txt"
    )
  end

end
Using firebase_app_distribution we will distribute the app which is available in Fastlane via the plugin we just added. You can configure it as per your need as discussed earlier.
As you can see, we have provided file firebase_credentials.json as service_credentials_file which was recently downloaded from GCP.
Now we are ready to test it locally 😃.
Testing it locally 👨💻
Run the following command: fastlane <LANE_NAME>
So if you want to distribute an app then run fastlane distribute. Make sure everything works fine 🍷.
If everything is working fine then we are ready to go for automation ⚡.
Setup GitHub Actions 🤖
This is the most interesting part 😍. As you might know that we always require the Firebase Credentials file and variable and FIREBASE_APP_ID. If your repository is private then you can directly include credentials file in VCS. But what if your project is public and you want to keep it safe?
Here GitHub Actions Secret comes to rescue 😃. It allows us to store the action’s secrets. But we can’t directly store the exact content because it may contain whitespace. To work around this requirement, we’ll encode these files using Base64:
For example, run this command 👇:
base64 -i firebase_credentials.json > firebase_credentials.json.b64This will encode the Firebase credentials file and see the generated .b64 file. Now copy the content of the file and add a secret in GitHub Actions 👇.
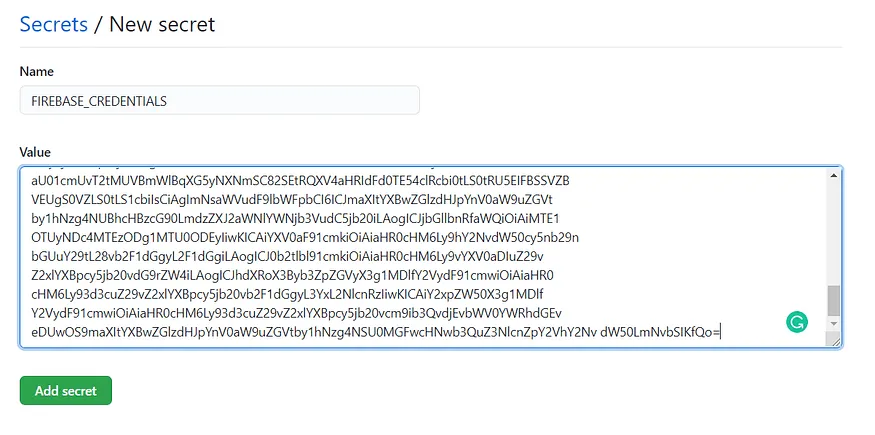
Now our action has access to this secret, allowing us to decode this string and create a file in the working directory. We’ll see this in the next section.
Go ahead and also add as the secret for FIREBASE_APP_ID. Your secrets should now look like 👇:
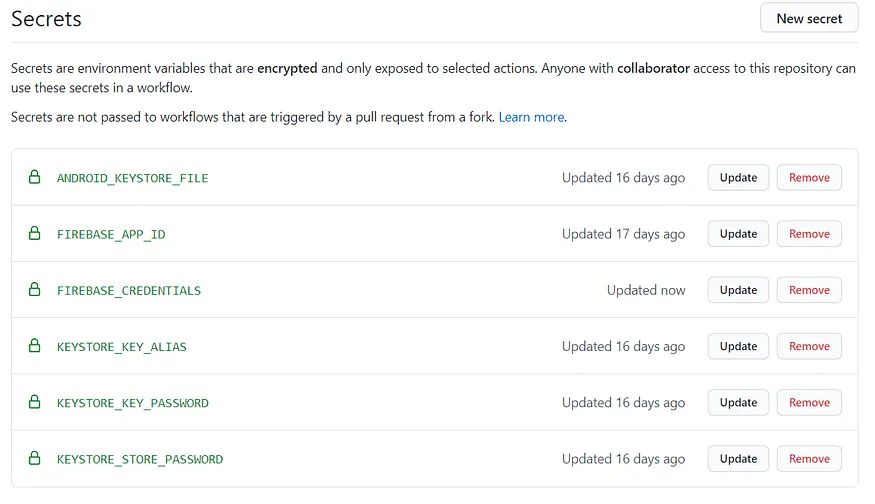
Once all required secrets are added, we are ready to create an automation workflow 🔥.
Let’s create GitHub Action’s Workflow 👨💻
Create a workflow file distribute.yml in the .github/workflows directory. Add initial contents to the file as 👇:
name: Distribute

on:
  push:
    branches: [test]

jobs:
  distribute:
    runs-on: ubuntu-latest

    steps:
      - uses: actions/checkout@v2

      - uses: actions/setup-ruby@v1
        with:
          ruby-version: "2.6"
Whenever you or someone else pushes to the test branch, the distribution workflow will be triggered. Don’t forget to set up Ruby for the workflow.
- Install the Ruby bundle:
- name: Install bundle
  run: |
    bundle config path vendor/bundle
    bundle install --jobs 4 --retry 3
As you know, we need Firebase Service credentials for authentication and we had added Base64 content in GitHub Secrets. So just decode it and create a file 👇:
- name: Create Firebase Service Credentials file
  run: |
    echo "$FIREBASE_CREDENTIALS" > firebase_credentials.json.b64
    base64 -d -i firebase_credentials.json.b64 > firebase_credentials.json
  env:
FIREBASE_CREDENTIALS: ${{ secrets.FIREBASE_CREDENTIALS }}- Now just execute the lane for distribution 😃. Also, make sure you have exposed environment variables using secrets.
- name: Distribute app with 🔥 App Distribution 🚀
  run: bundle exec fastlane distribute
  env:
    FIREBASE_APP_ID: ${{ secrets.FIREBASE_APP_ID }}
That’s it. You can do the same for the production deployment as per your choice.
Now just push some commits to the test branch and see the magic ✨.
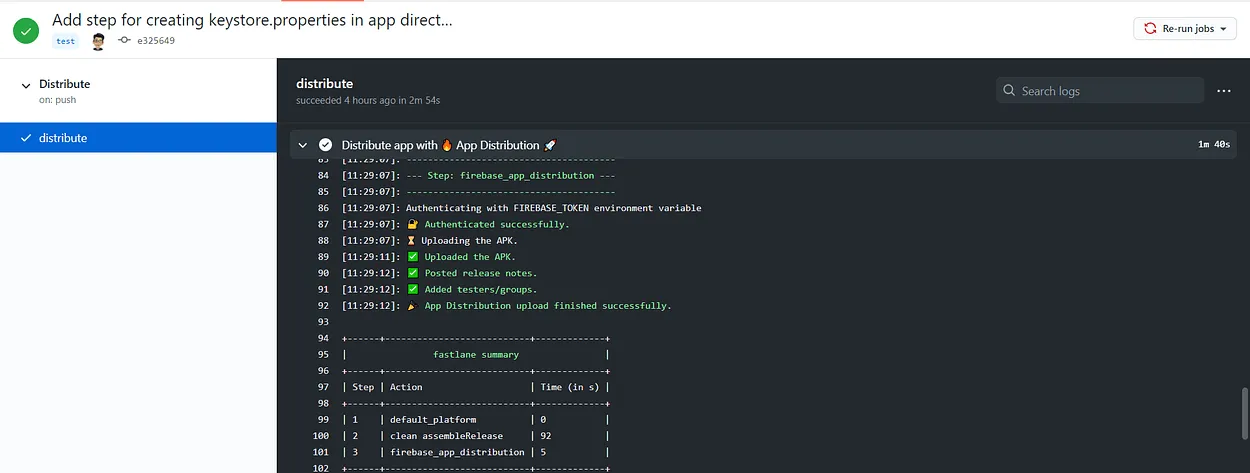
Lovely! 🎉
Your app is now successfully distributed to the trusted testers and QA team you set up for the application. Just wait for their feedback then fix issues 😍.
Write some code 👨💻, push 🚀 and chill! 😎
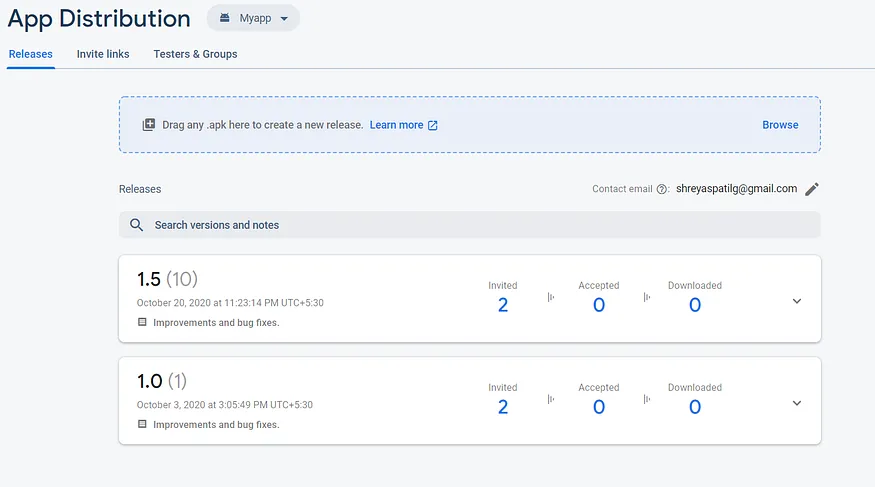
Here is a look at the Firebase App Distribution dashboard for my sample app 😍:
I hope this article will be helpful to everyone.
Thanks for reading! 😄